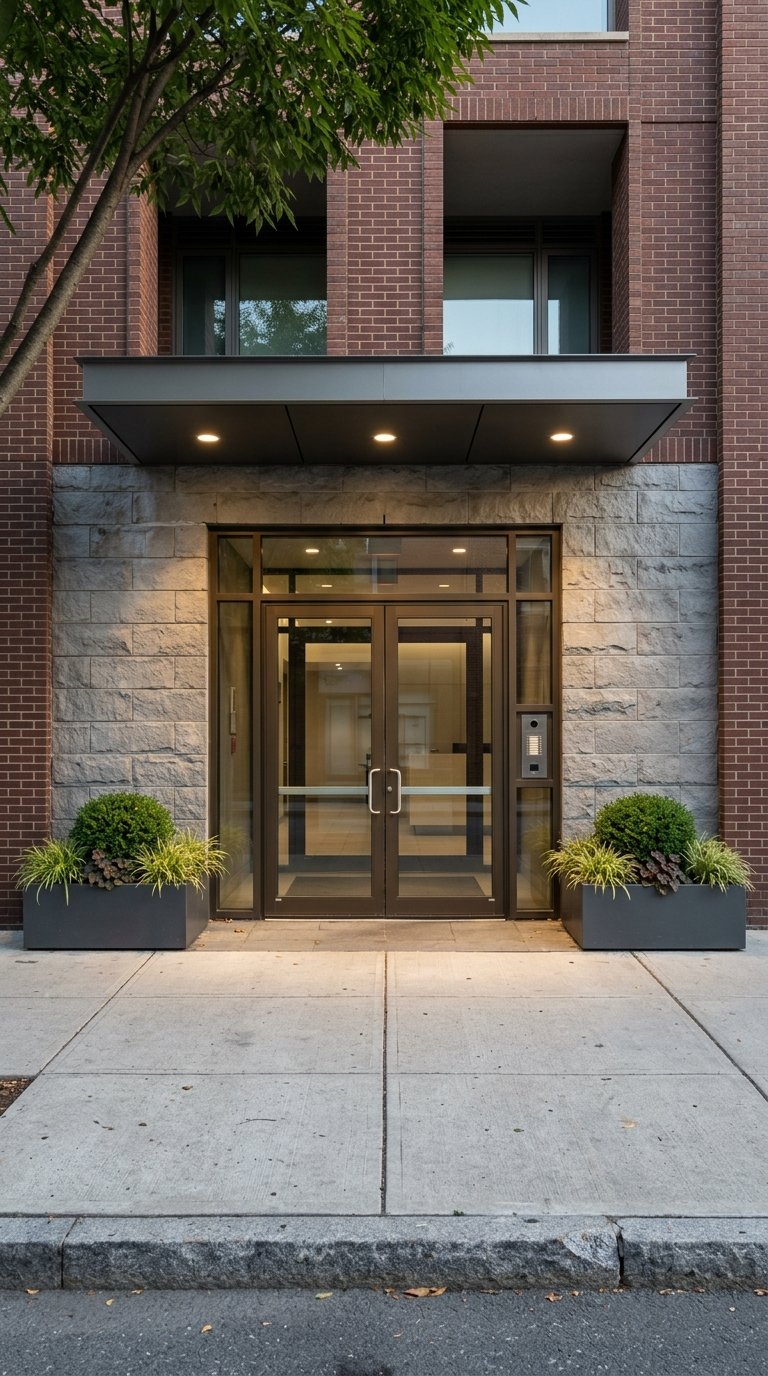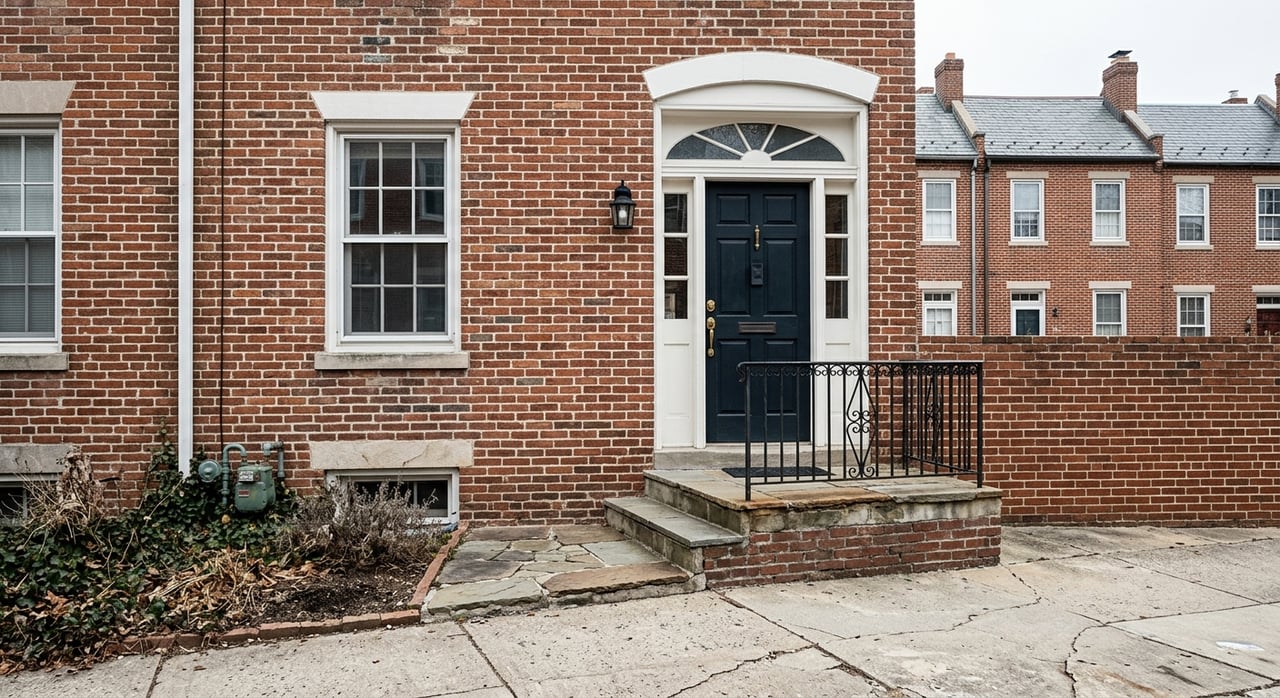
Is your DC rowhouse long, narrow, and a little dim? You’re not alone. Many Washington homes were built on tight lots, and light can feel scarce in those classic floor plans where width and window exposure are limited. The good news: smart, simple staging can make your home look brighter online and in person, which helps it sell. In this guide, you’ll learn practical, permit-smart moves that maximize light in narrow DC homes. Let’s dive in.
Why light sells in DC rowhouses
Many older DC rowhouses measure roughly 14 to 16 feet wide, which naturally limits window area and sightlines into the interior. Historic surveys of DC housing document these narrow footprints.
Bright presentation matters. NAR data on home staging shows staging can reduce time on market, with living rooms ranked especially important to buyers. Since most shoppers meet your home first through photos and tours, perceived brightness is a key advantage.
Quick wins before photos
Clear the glass
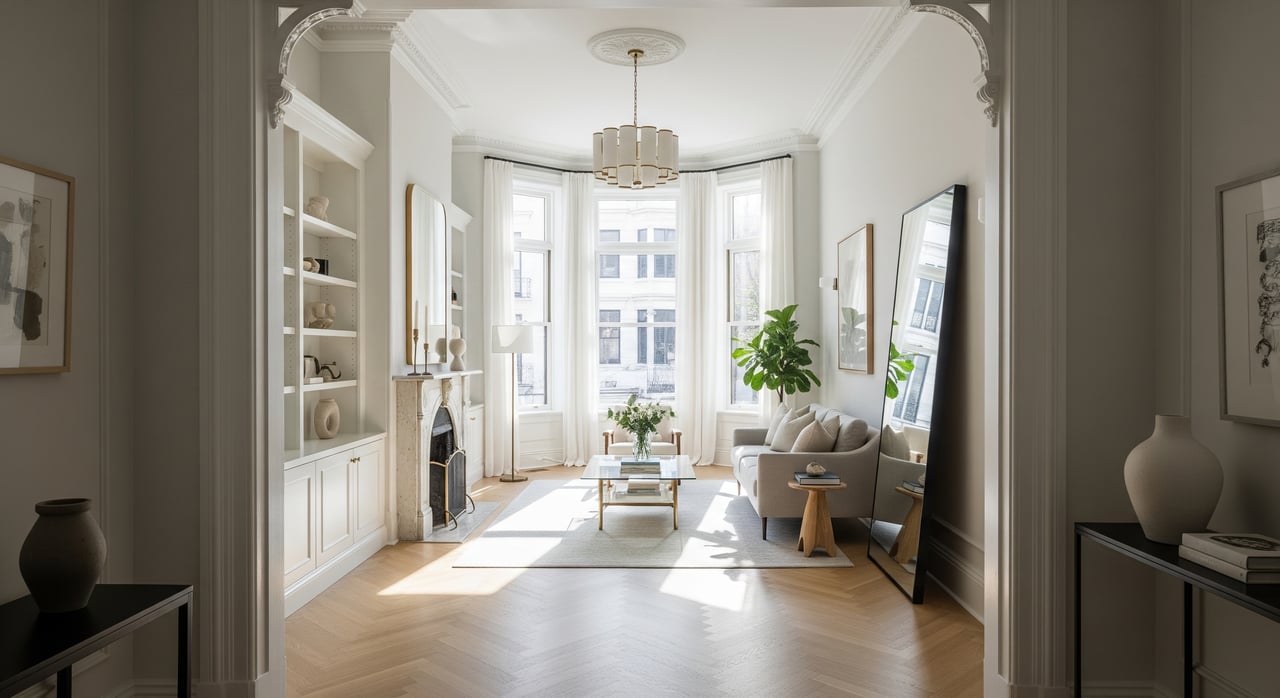
Clean windows inside and out, remove heavy drapes, and swap in sheers or roller shades you can open fully for showings. These simple natural light fixes push daylight farther into long, narrow rooms.
Use light, neutral paint
Choose light neutrals with a high Light Reflectance Value so walls bounce daylight. Aim for LRVs around 60 to 85, and use an even higher LRV on ceilings to reflect light back down. Satin or eggshell sheens reflect more than matte. Browse paint colors with high LRV to test swatches in your space.
Add mirrors that bounce light
Place a large mirror opposite or next to a main window to reflect daylight deeper into the plan. Glass-top tables and metallic accents help, too. See quick wins for mirror placement.
Scale furniture to sightlines
Use low-profile pieces with exposed legs and avoid blocking the light path from windows. In a tight living room, trade an oversized sectional for a loveseat and two chairs, and float pieces to open views. Try these downsize and float furniture ideas to keep the room feeling open.
Keep floors continuous
Consistent flooring and right-sized rugs let the eye travel from front to back without visual breaks. Lighter floor tones reflect more light, and a single larger rug is often better than multiple small ones that chop the space.
Tidy landscaping for light
Trim shrubs and trees that shade window glass, and remove light-blocking awnings if allowed. On many blocks, front planting strips may be public space, so confirm rules and any permits first through DC’s permitting portal. Start here: DC Department of Buildings permits.
Layered lighting that looks natural
Combine ambient, task, accent
Layered lighting prevents flat shadows and adds depth in photos. Use a good overhead fixture for ambient light, plus table or floor lamps for task light, and a few accent sources like picture lights or under-cabinet strips.
Pick LED bulbs wisely
Keep color temperature consistent across open areas so rooms read warm and bright, not mismatched. For living rooms and bedrooms, target 2700 to 3000 K. Choose bulbs with CRI 80 or higher, or CRI 90 if available, for natural-looking colors in person and on camera. ENERGY STAR provides practical criteria for quality light sources. See LED bulb guidance.
Aim for comfortable brightness
For everyday living and photo-ready spaces, plan for layered light that reaches roughly 300 to 500 lux in living and kitchen zones, with lower levels in halls and stairs. These targets are commonly used by designers and stagers. Learn more about recommended light levels.
Make photos look consistent
Use the same color temperature and high-CRI bulbs throughout visible rooms, and consider dimmable LEDs to tune brightness for photography and evening showings.
Structural options in DC
Skylights and roof work
Discreet skylights can add meaningful daylight. In DC’s historic districts, some roof changes may qualify for expedited Historic Preservation Office review if not visible from the street, while more visible work can require board review. Always check the HPO guidance on qualifying work before planning.
Windows and light wells
Replacing windows or creating new openings can improve daylight, but changes to a contributing façade often need preservation review. Basements sometimes allow light wells or egress windows, which typically require permits. Consult HPO rules early and coordinate permits through DOB.
Interior changes that spread light
Inside, consider glass pocket doors, interior transoms, or removing select non-load-bearing partitions to share light between rooms. Interior work can still require permits, so confirm scope with DOB before you start.
Cost and ROI for sellers
For most listings, the best return comes from reversible staging: fresh paint, mirrors, decluttering, lighting upgrades, and careful landscaping. Major construction like skylights or new openings can add value but involves cost, permits, and timeline. Use NAR staging insights to focus first on listing presentation.
DC compliance checklist
- Confirm whether your property lies in a historic district or is a landmark, then review HPO design guidance for windows, roofs, and skylights.
- For any exterior or structural change, identify permit needs with DC’s Department of Buildings and consult HPO early if the exterior appearance could change.
- For front-yard or public-space work, verify public-space rules before pruning trees or changing awnings.
- Standardize interior lighting color temperature and CRI before photography so images present consistently bright and natural.
One-day staging checklist
- Wash windows inside and out and remove heavy window treatments; use sheers or roller shades you can fully open.
- Repaint key rooms in light neutrals with high LRV; use a brighter ceiling to bounce light.
- Add a large mirror opposite or beside the brightest window.
- Swap bulbs for consistent 2700 to 3000 K LEDs with CRI 80 or higher, and add table or floor lamps to layer light.
- Right-size furniture and open sightlines from entry to living zones; avoid blocking windows.
- Trim plants that shade windows where rules allow, and tidy porches and stoops to increase visible brightness.
Ready to stage your narrow DC home for standout photos and stronger offers? Let’s build a light-maximizing plan tailored to your block, floor plan, and timeline. Reach out to Robert T Dinh for a quick consult and a data-backed staging strategy.
FAQs
How much does it cost to make a narrow DC rowhouse feel brighter?
- Most impact comes from low-cost steps like cleaning windows, switching to high-CRI LEDs, adding mirrors, and repainting in light neutrals; structural changes cost more and take permits.
Are skylights allowed in Washington, DC rowhouses?
- Often yes, but visibility from the street and historic-district rules determine the review path, and building permits are typically required.
What LED bulbs should I use when staging for photos?
- Use consistent 2700 to 3000 K bulbs in living areas with CRI 80 or higher, and consider CRI 90 for the most natural color in images.
Can I replace my DC rowhouse windows with larger ones?
- It depends on location and façade status; in historic districts, changes that alter exterior appearance often require preservation review and permits.
Do I need a permit to trim a tree that shades my front windows?
- You may if the tree is in public space or if rules apply on your block; check DC public-space and building-permit requirements before work begins.